How to Press Your Wedding Flowers
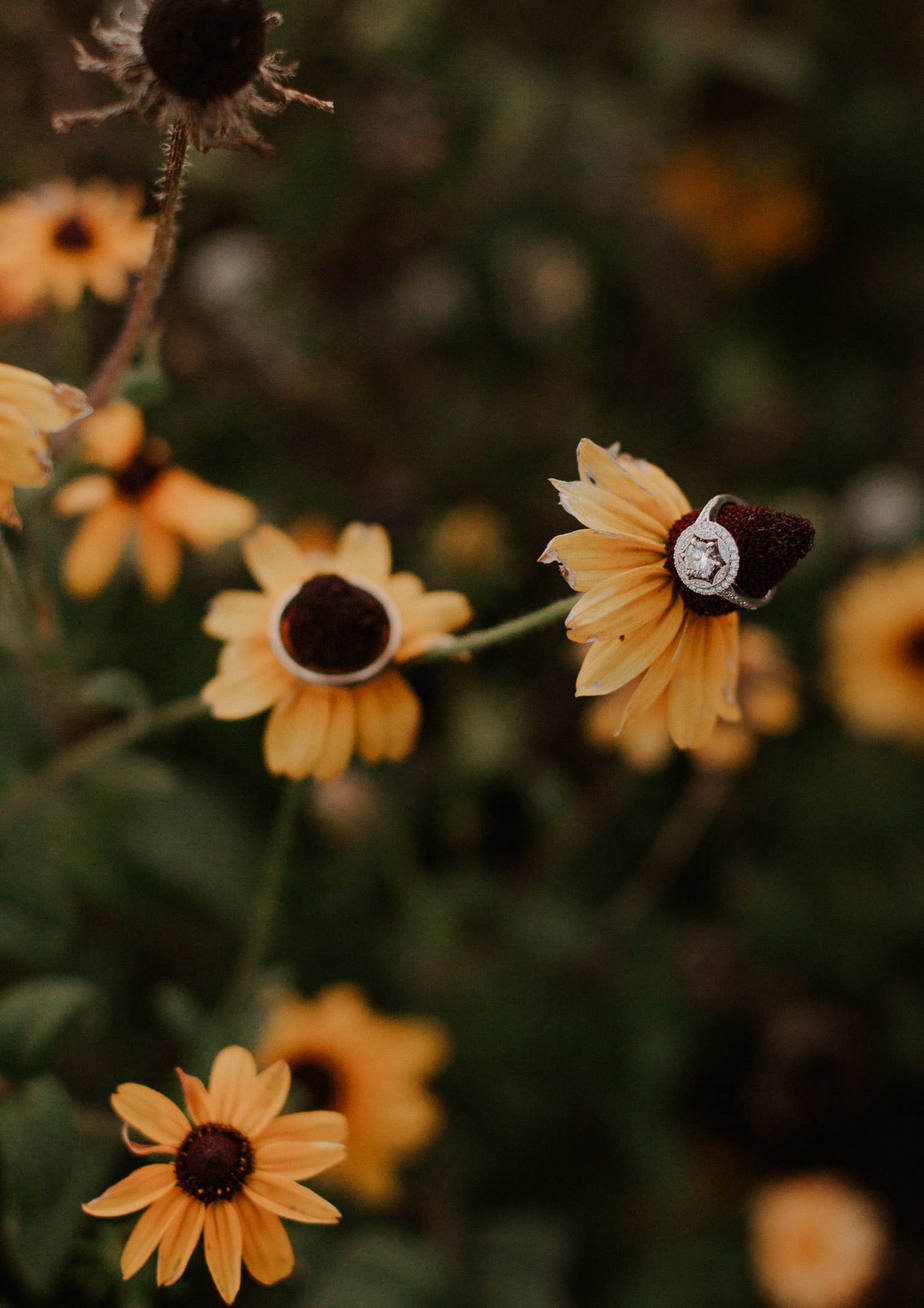
We’ve all been there. Your beautiful wedding is over and now you have all of these fresh flowers and nothing to do with them! Not to worry. Learning how to press your wedding flowers is pretty easy and will let you enjoy them for a lifetime. As an elopement photographer, I’ve started collecting loose buds from my couples’ wedding day and taking them home to press. Once they’re dry, I put them in a glass frame and send them to my couple as a thank you for letting me spend the day with them. So far, they really love it!
Pressing and drying your wedding bouquet is a fun way to add a new piece of artwork to your home and to keep the memories alive. It’s not as hard as you think, and it will only take an afternoon to get started.
The worst thing about having fresh flowers is how quickly they decay. Extending the life of your wedding bouquet is the perfect way to keep enjoying your celebration long after your wedding day has passed. By extending the life of your fresh flowers you’re helping add artwork to your home while being sustainable.
Check out this blog post for more ways to have a sustainable wedding day.
Other Ways To Keep Your Wedding Flowers
If pressing seems too time-consuming or isn’t your thing, there are several other ways you can preserve your wedding flowers. Deciding which is the best method for you will depend on how you want to display your flowers in your home. Sometimes, the best option is to send your flowers to a professional, but a lot of these you can DIY!
- Hang upside down & air dry – this is the perfect method for a witchy aesthetic!
- Silica gel – got a ton of little packets lying around? Dump them in with your flowers to “dry” them out.
- Resin – you can put your dried flowers in all sorts of different resin molds and create paperweights, keychains, shelf decor, and so much more.
- Get an artist to paint them – I LOVE including local artists any way I can. Have an artist paint a beautiful picture of your flowers or wedding day and use that to hang on your wall.
FAQ About Pressing Your Wedding Flowers
How long does pressing flowers take?
This really depends on which method you choose and how much time a day you can dedicate to your new project. I dried all of my flowers via the microwave method in one afternoon! When I preserve my clients’ flowers, I go the more natural route and press them between cardboard. Arranging them only takes about 30 minutes and then I just let them sit for a few weeks. Pressing your flowers is pretty hands-off.
Will the flowers mold?
Not if you dry them correctly. There have been a few times I didn’t lay my petals correctly and the blooms ended up molding before drying out completely. I always recommend drying more flowers than you think you’ll use just in case you mess some of them up. That’s the beauty of DIY!
How do I keep the petals from fading?
Try to dry your flowers as soon as you can. The longer you wait, the more “dead” they will be and thus turn brown at a faster rate. Flowers with more pigment will last the best while yellow or pale flowers will probably turn a little brown or fade completely if kept near a light source.
Supplies for pressing flowers:
- Wedding flowers
- Cardboard
- Rubber bands
- Glass frame
- Paper towels or cloth
- Heavy book
- Microwave*
*only if you’re using the microwave method to save drying time!
Choosing the best flowers to keep
Not all flowers press equally. Thicker flowers may have to be cut in half to lay properly without molding and those cute little billy balls are a pain in the butt to dry. As I mentioned earlier, you’ll want to make sure you’re choosing the freshest flowers possible.
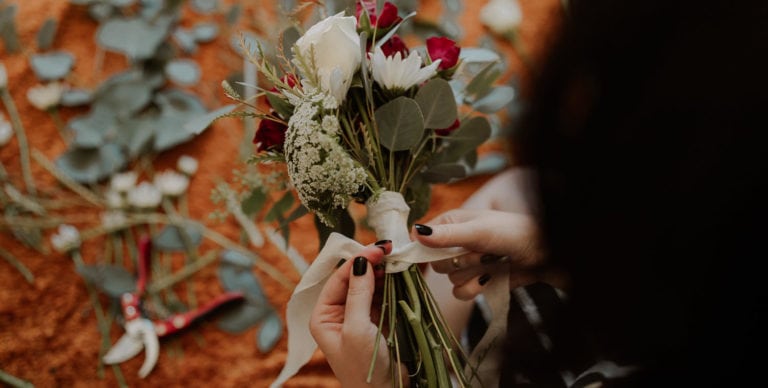
Think creatively when it comes to how you want to press each bloom. For some flowers, like roses, you may have to expand and spread out the petals so you can really see the shape. Fern leaf or eucalyptus make great choices for pressing!
Two Ways To Press Your Wedding Flowers
There are a couple of different ways to press flowers depending on how involved you want to be and how quickly you want the turnaround to be. I personally used the microwave method as that was quicker and more suitable for my needs. However, now that I press flowers for so many different couples, I use the more hands-off method and press them between books. Both options are incredibly easy and it’s kind of crazy how simple it is to make this gorgeous wall art.
Method One: Press by Book
To press your flowers by book, you want to lay your stems out on acid-free paper or another moisture-wicking surface. You don’t want to pick something that will hold the moisture as this could result in mold. I use pieces of cardboard with paper napkins in between.
Take off any extra leaves, thorns, or other parts of the flowers you don’t want to keep.
Make sure to keep the stems spaced out so the flowers dry evenly and cover with a heavy book. If you stack flowers on top of each other, they will stick together and you won’t be able to separate them when it comes time to arrange them.
Allow to sit and dry for one to two weeks. Check on them after a week to see how they are doing. If you have particularly juicy flowers, you may want to change out the cardboard or paper. Make sure you leave them in a dry, cool area. I know, it sounds too easy, doesn’t it?
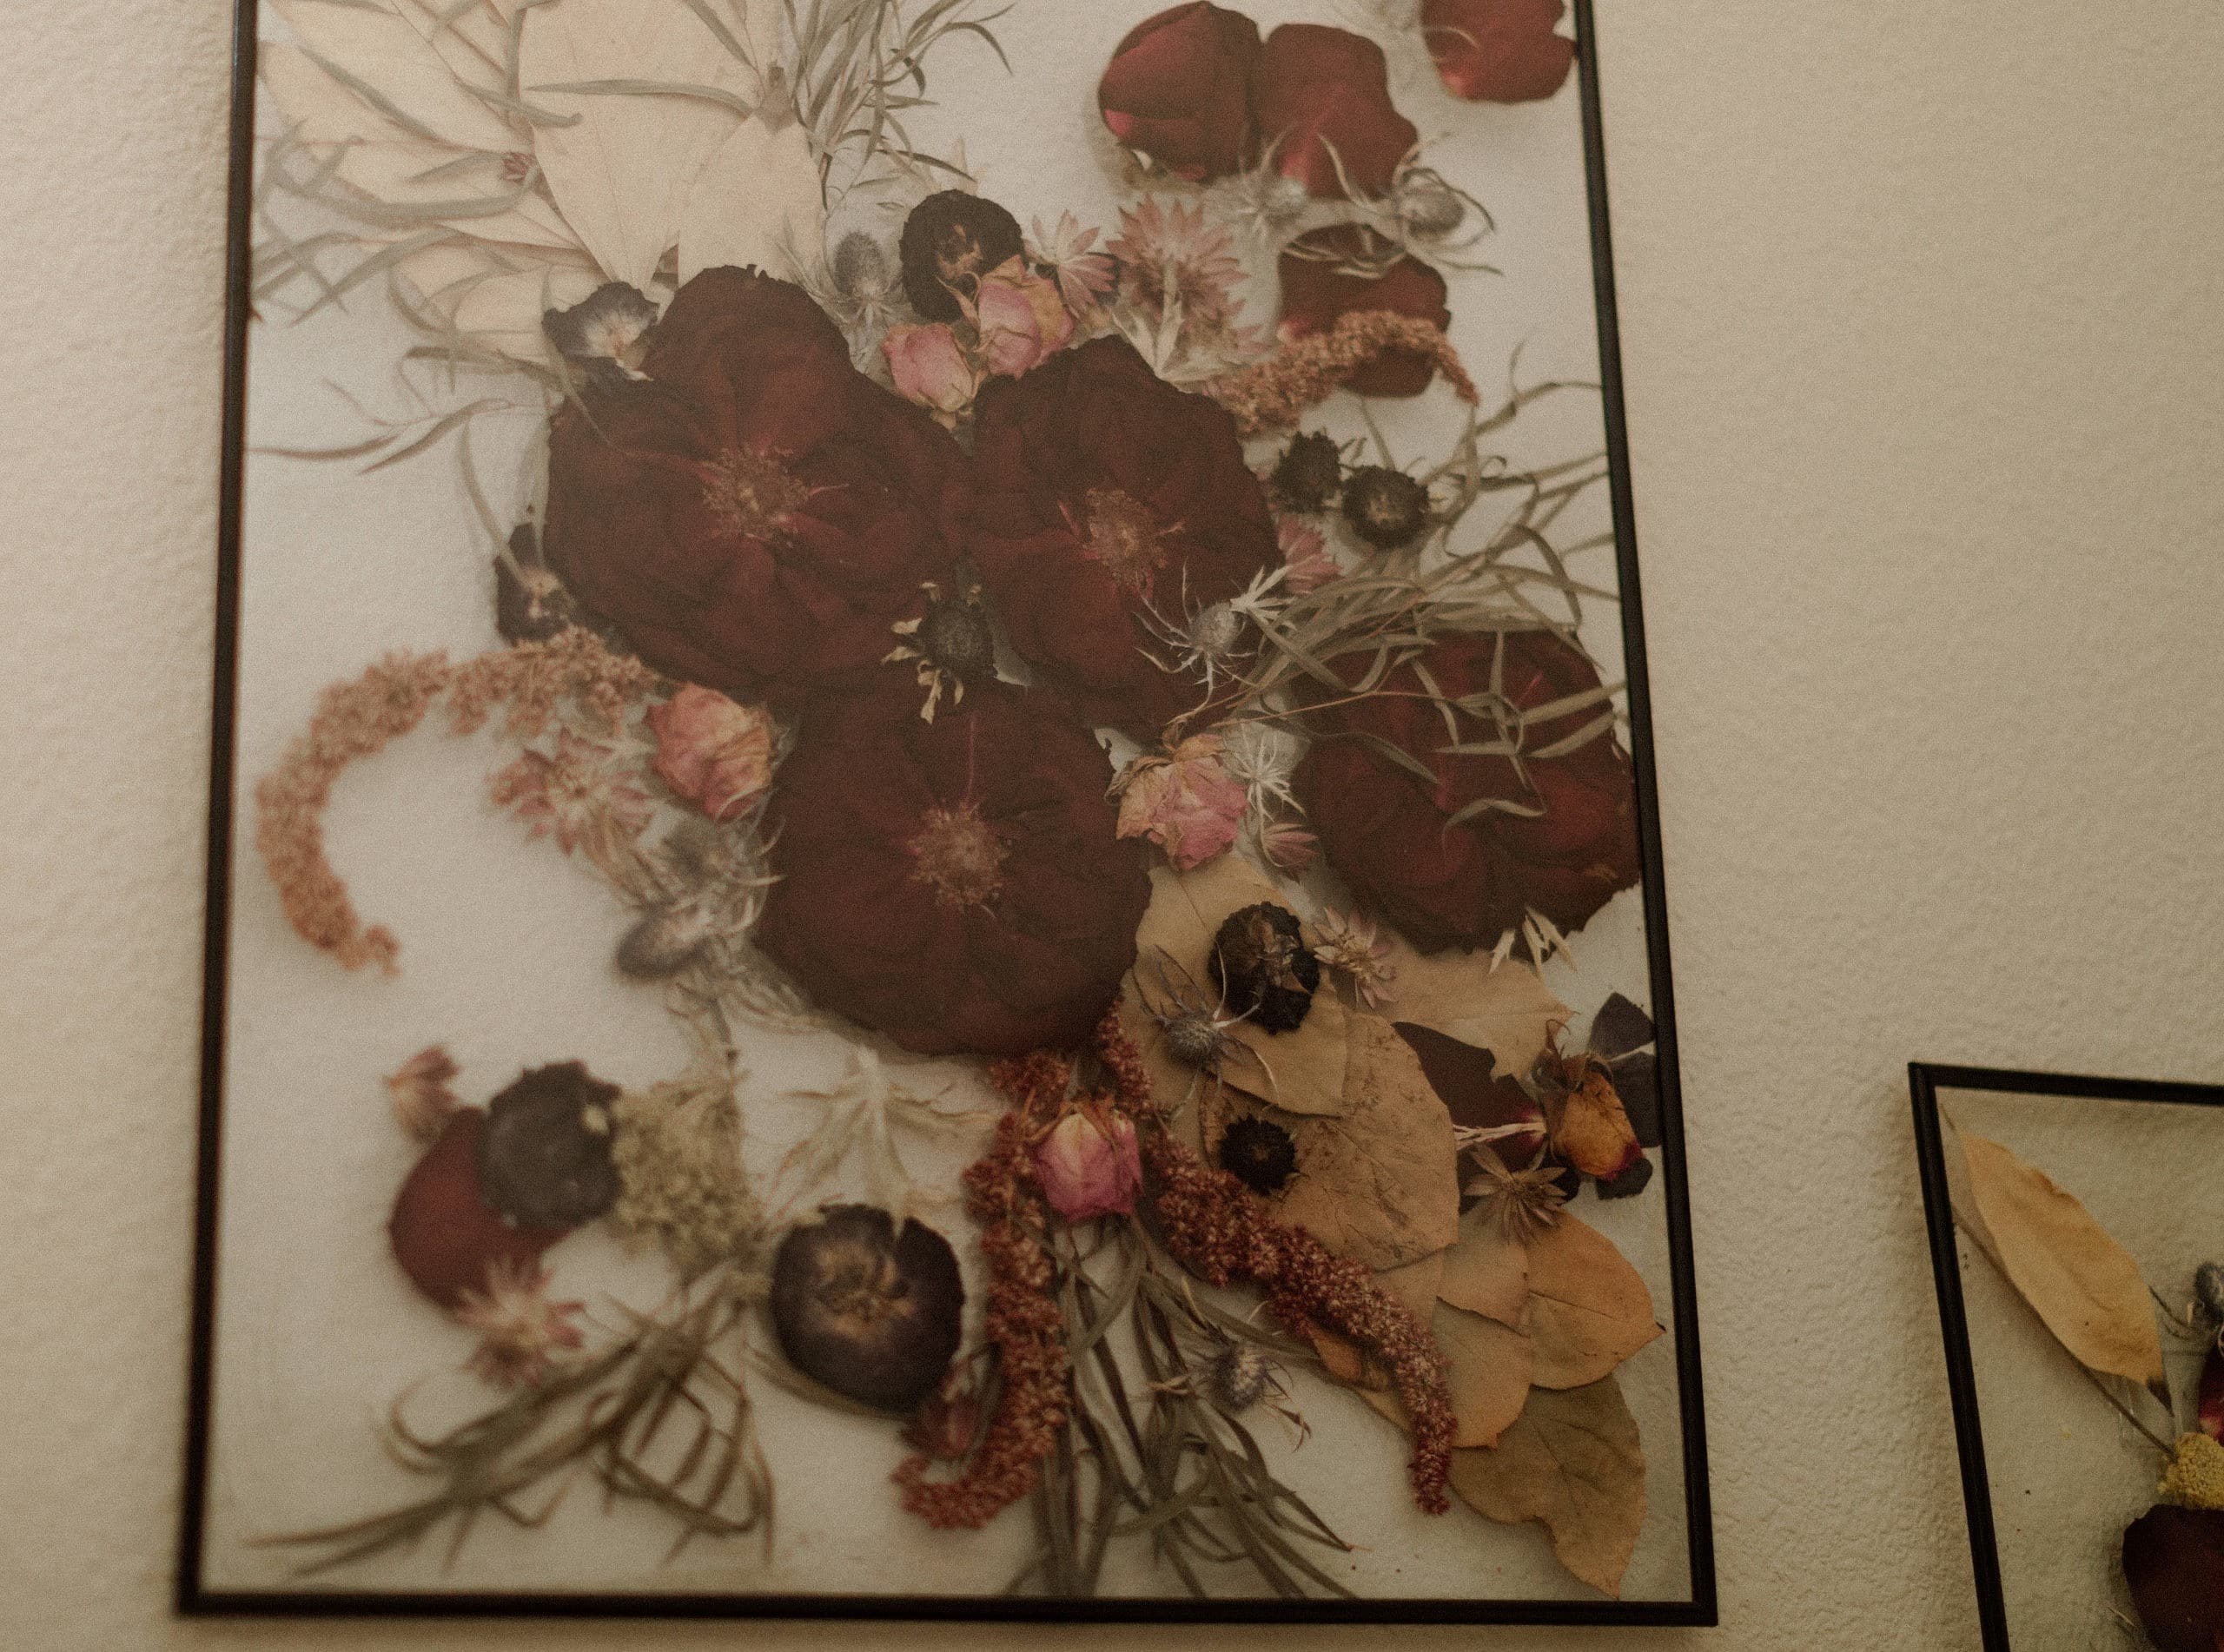
Once dry, carefully remove the stems from the paper and place them in your desired frame. Arrange the flowers to fit your aesthetic preference and be careful not to jostle too much! You don’t want to accidentally break off the petals.
That’s it! You’ve just saved your wedding bouquet and created a masterpiece all at once.
Method Two: Press by Microwave
To press by microwave, you need to dedicate a couple of hours to the project, but then you’ll be done! You don’t have to keep coming back to check up on it or remember to take the stems out after a couple of weeks. You can go from fresh flowers to beautiful artwork all in one afternoon. I also loved that the microwaved flowers kept their color really well.
Lay your stems out on a paper towel. Space them out evenly, but don’t be afraid to dry several at one time. Once you have the stems laid out, put the cloth or paper towel on your cardboard. You can rubber band the cardboard together or, like I did, just place a heavy plate on top in the microwave.
“Cook” at medium power for about 1 minute and check on the flower. The temperature is really important! If you cook at full power you will burn your flowers. Burned flowers won’t be able to be pressed and they smell awful. Trust me.
You don’t want to cook it for too long at one time as you can burn the flower. Once they are sufficiently dried, set them aside to cool. They can get hot, so be careful! #notouchy
You don’t have to cook your flowers until they are completely dry. If you want to, you can combine both methods. Just cook your flowers a little bit to speed up the drying process and then finish it off in between some books.
Once cool and all your flowers are dried, arrange them in your desired frame. Again, be careful not to jostle too hard as you can lose some petals, though I am sure you can find an artful way to display those, too!
What To Do With Pressed Flowers
Now that you have perfectly pressed flowers, what should you do with them? I got you.
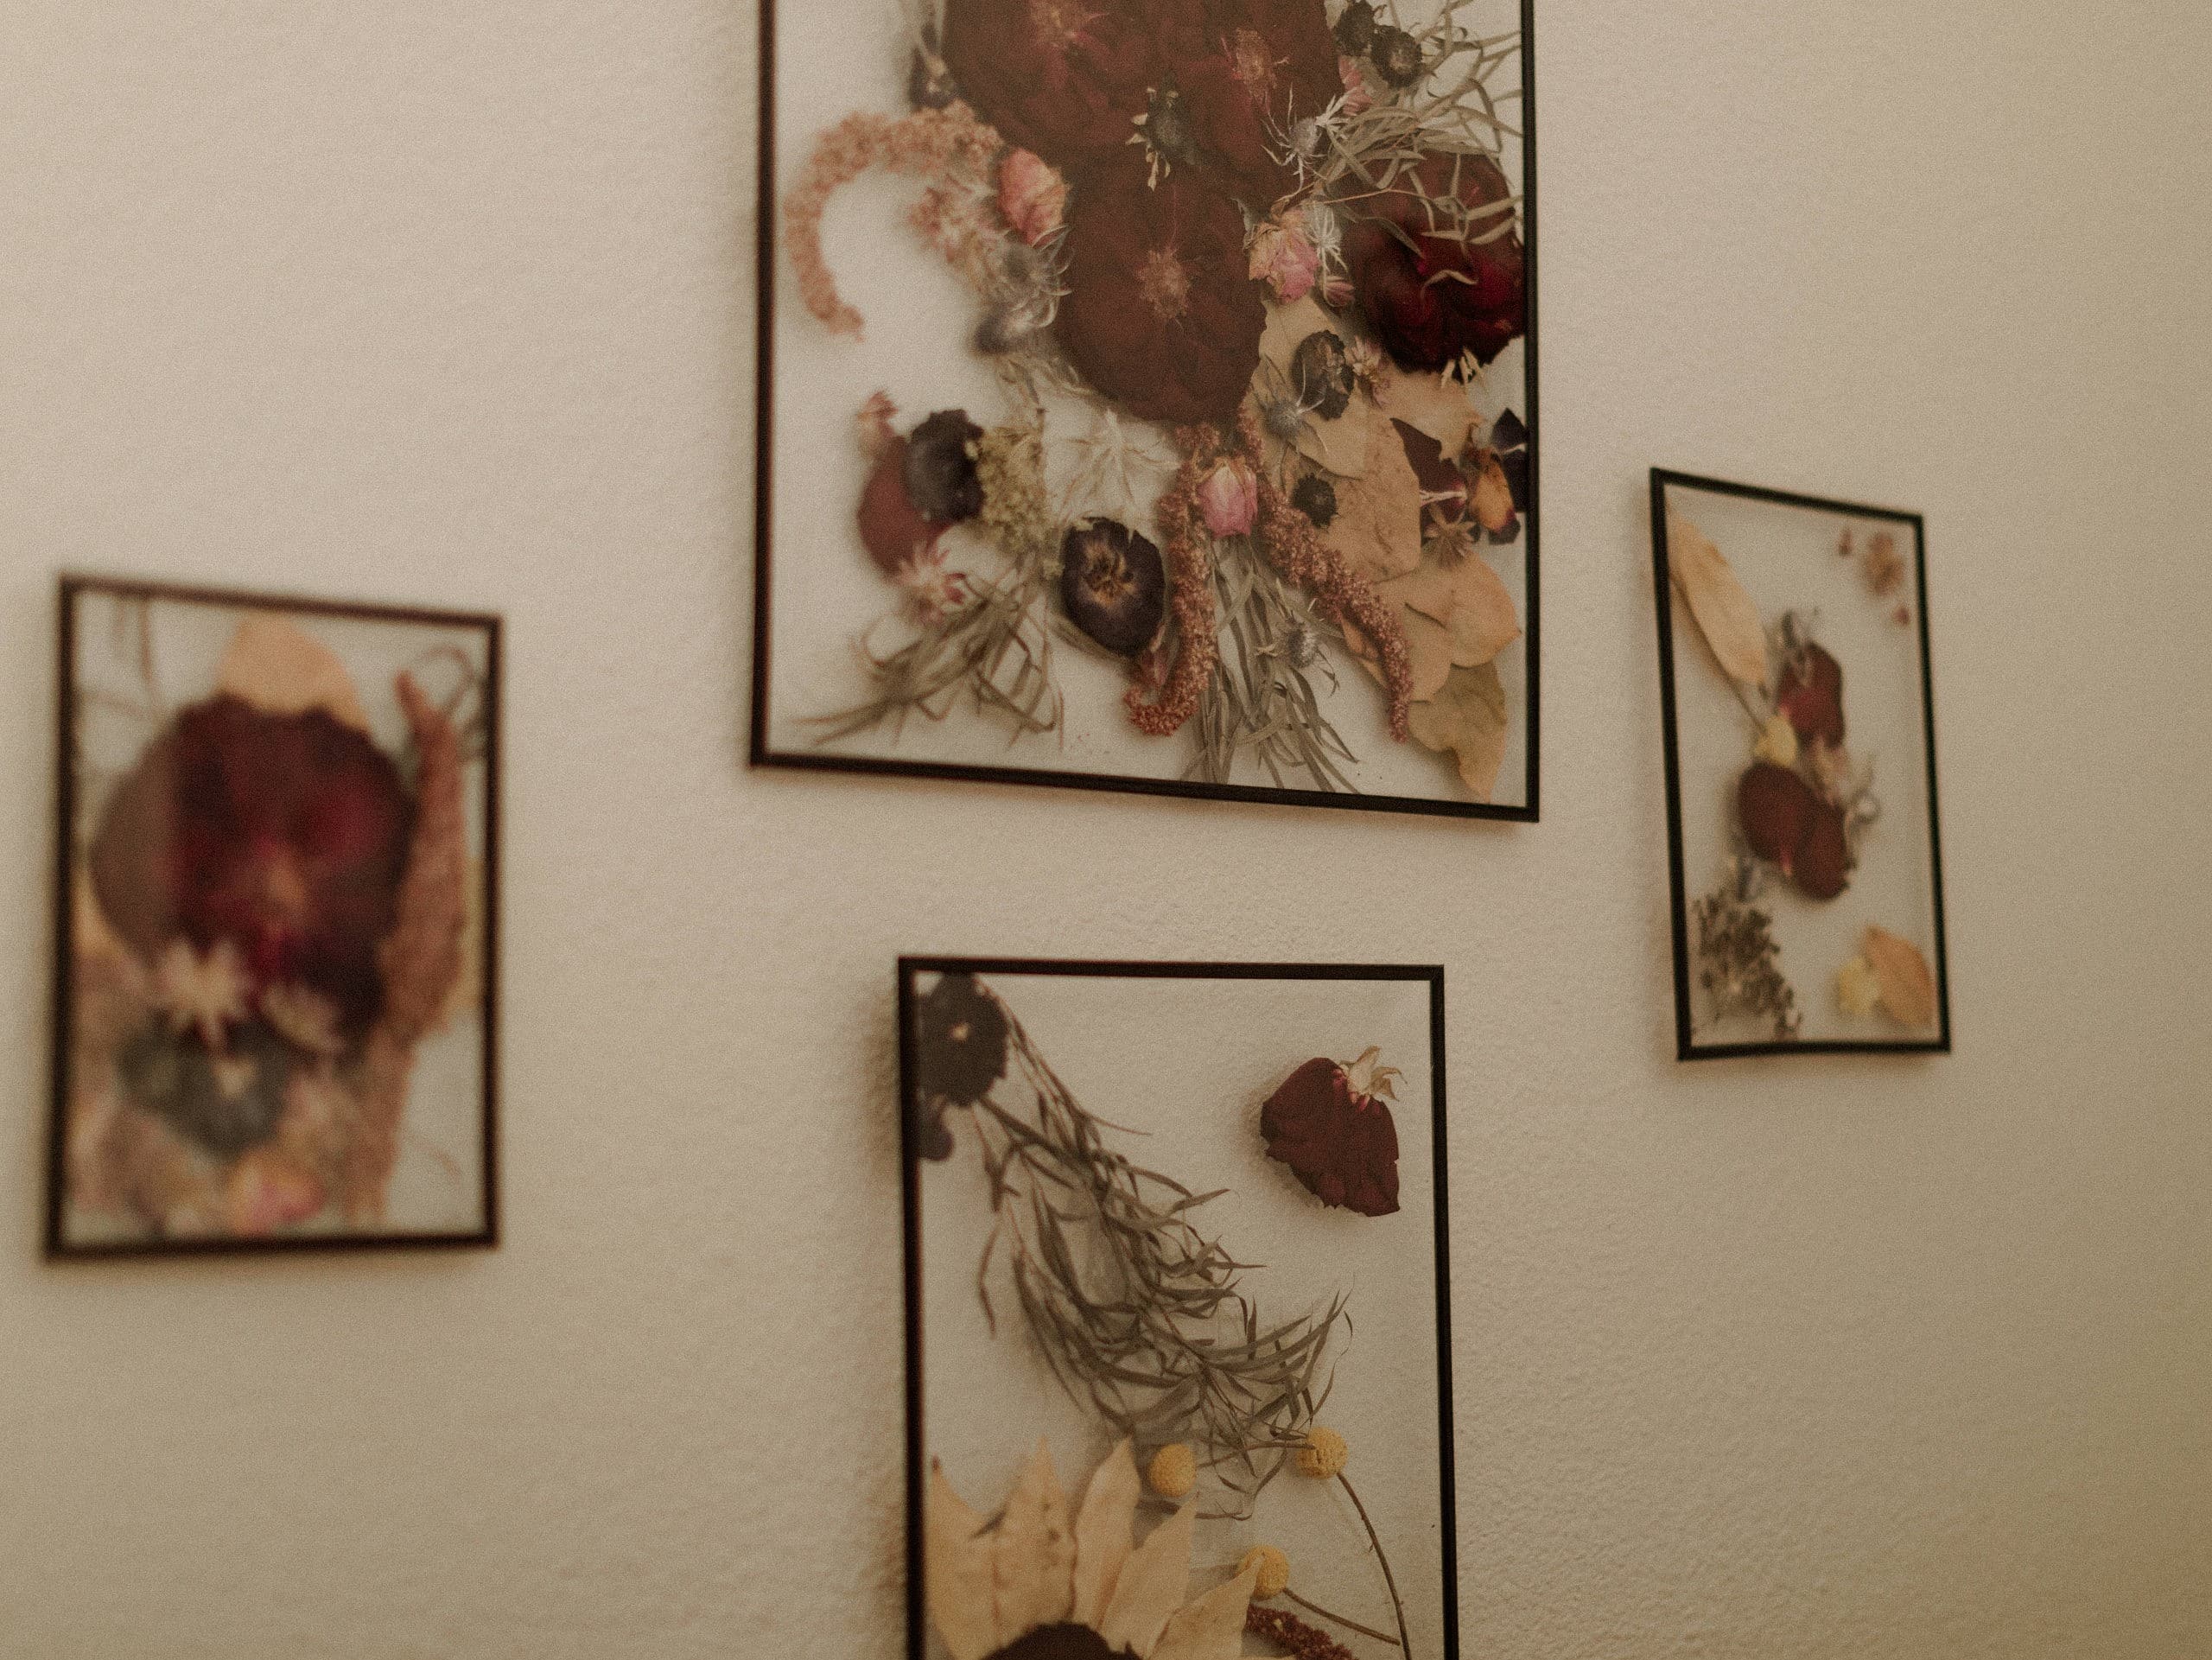
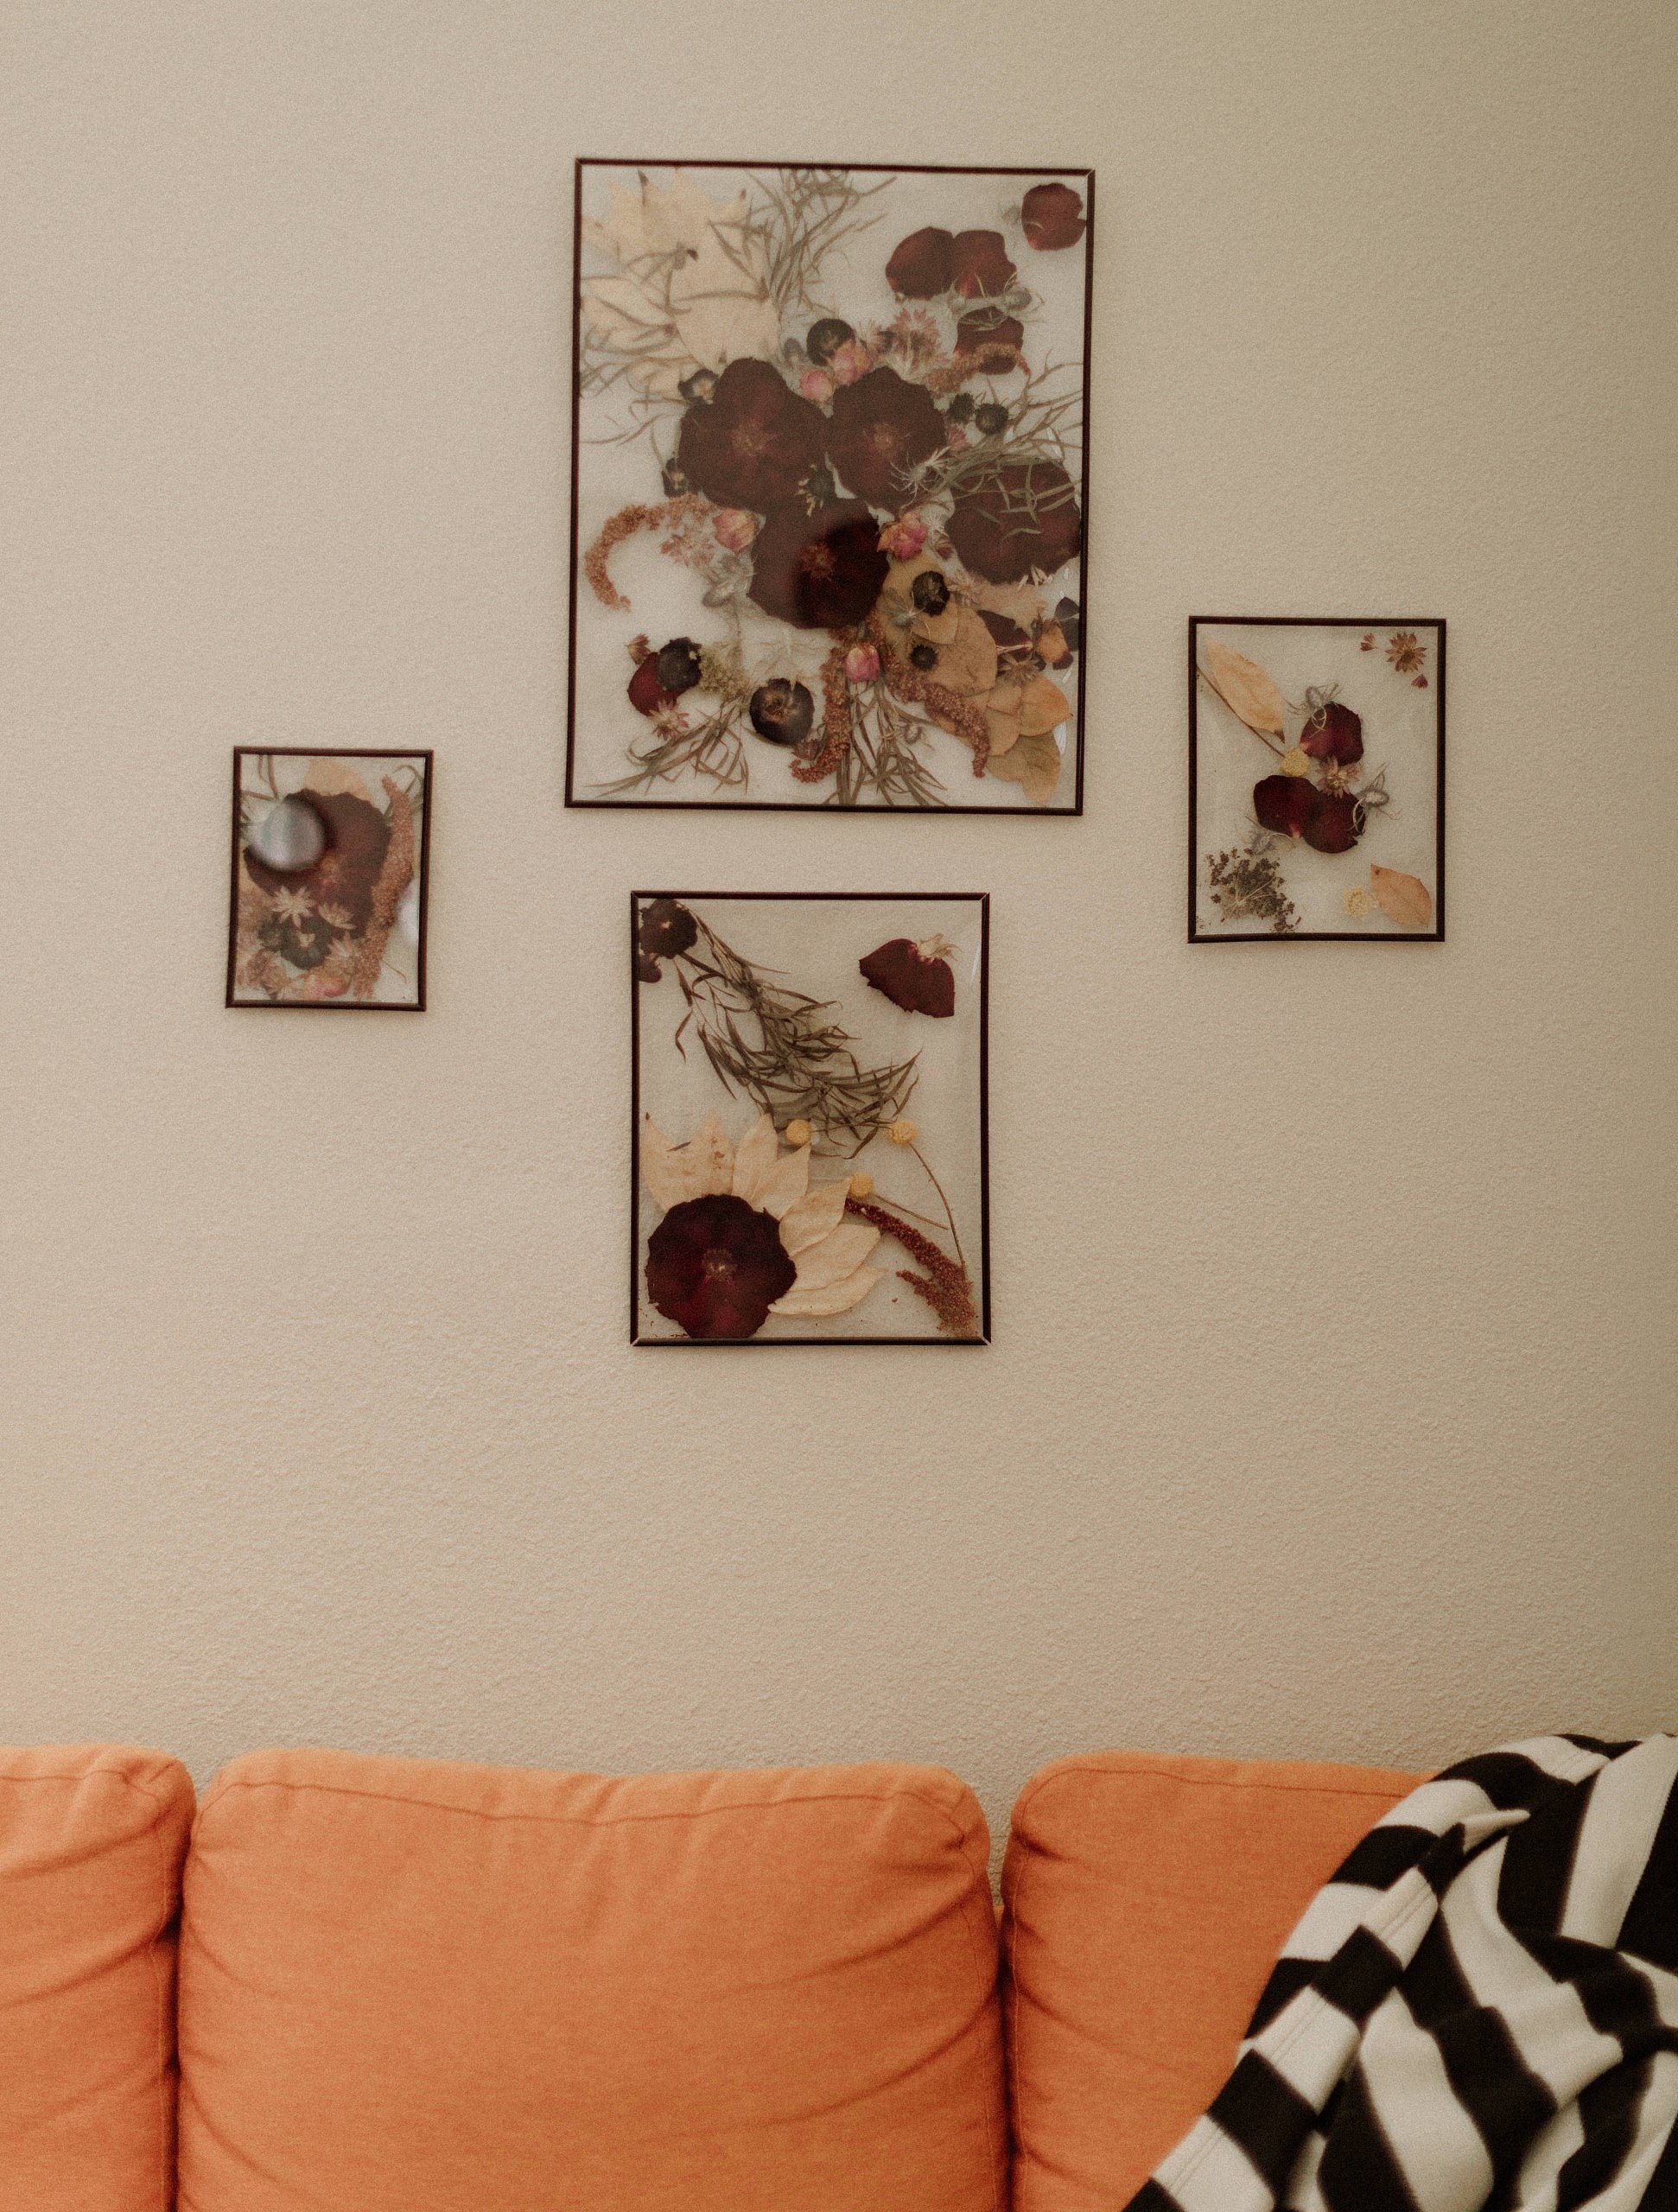
- Display in a glass frame (my fav!)
- Arrange on fabric in an embroidery circle
- Make a bookmark
- Save in the back of your clear phone case
- Jewelry!
- Glue them on stuff
That’s it! Way easier than you thought, right?
It’s a simple little trick to help you relive your memories for years to come and add some fresh artwork to those bare, newlywed walls. These can make great gifts, as well! You don’t even have to use wedding flowers: pluck some wildflowers from your ditch and make something pretty for your mom or friend to thank them for their help on your big day. The possibilities are endless!
Not quite to the drying stage yet? See how to make your own wedding bouquet, boutonniere, and centerpieces here.
Black Salt Photography is an elopement photographer and intimate wedding photographer based in Portland, Oregon. Photographing in the surrounding PNW areas and traveling often for destination love stories. Specializing in intimate candids and editorial portraits to craft a one-of-a-kind wedding day for every couple. Her moody photography style plays with natural light and shadow, laced with raw emotional moments, to create an authentic narrative experience. She photographs you as you so you’ll love your photos authentically.