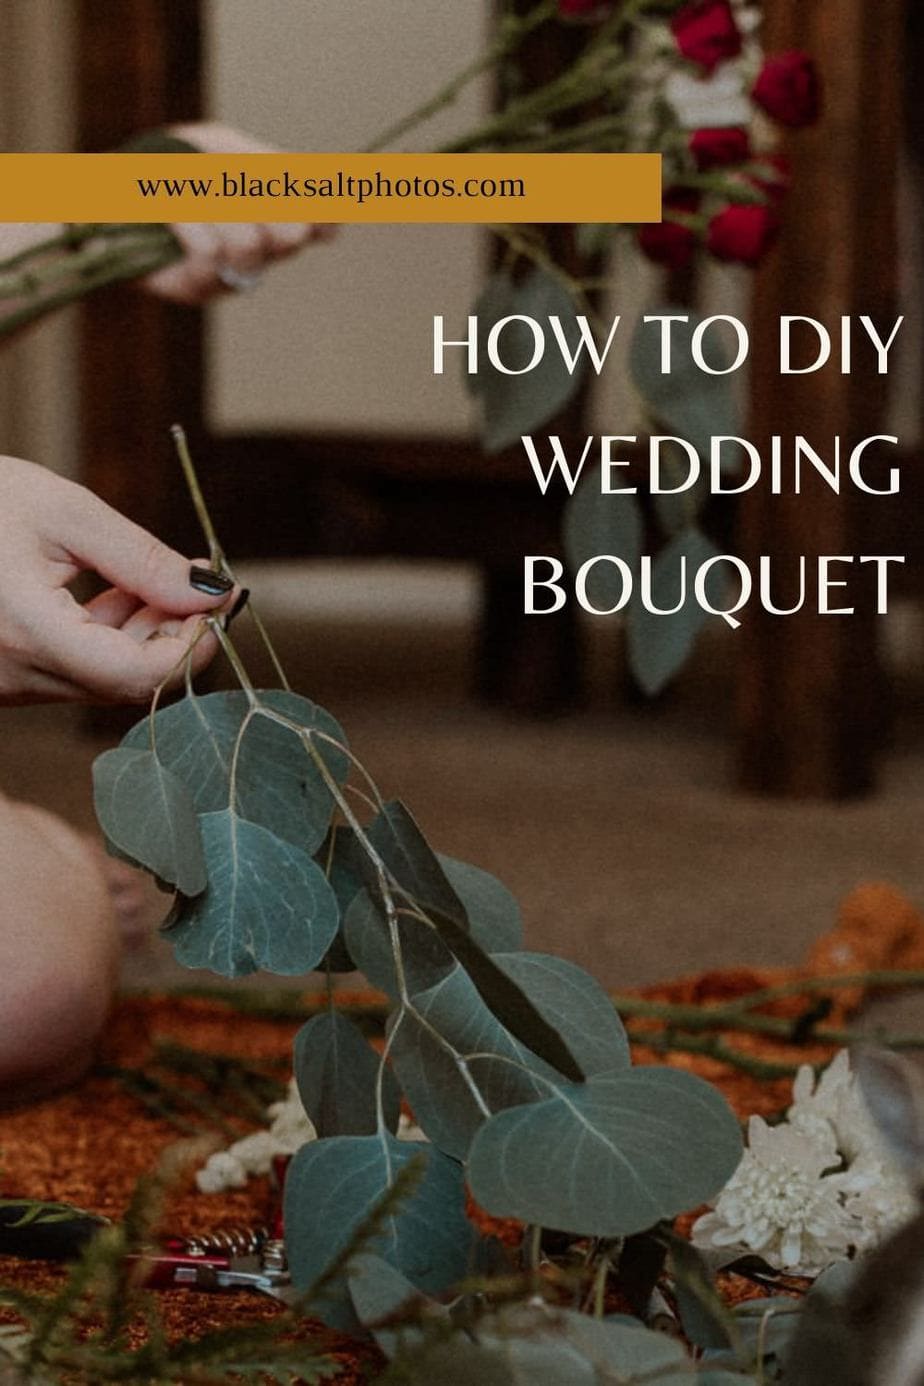
How to DIY Your Wedding Bouquet
This blog post is for the adventurous, DIY couple who loves being creative. Learning how to DIY your wedding bouquet isn’t as hard as it may seem at first and can end up saving you a lot of money. These tips can be great for last-minute planning or if you love the wildflower bouquet look. A DIY wedding bouquet likely isn’t going to look like the ones you see on Pinterest, but it will be full of love and creativity!
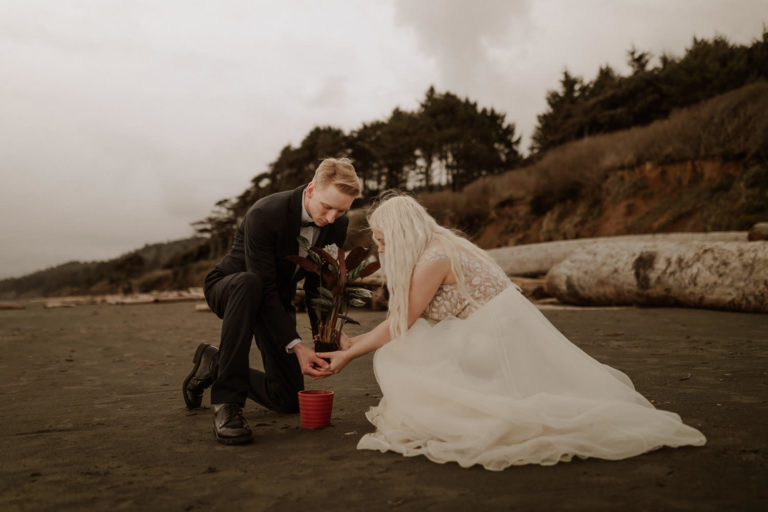
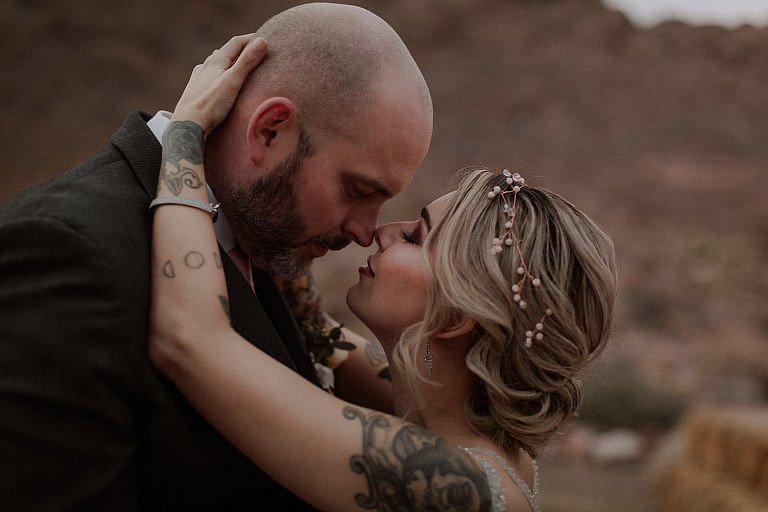
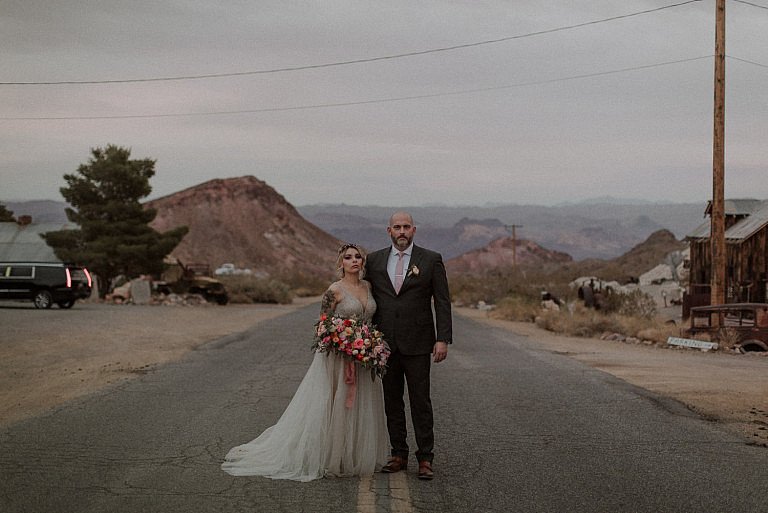
We all know that weddings can get expensive…and fast. Some of the big-ticket items like venue, dress, and photographer are expected. But did you know that wedding florals can quickly skyrocket your price tag? Once you start adding in variations or a long centerpiece, you could be looking at several hundred dollars, depending on how large you want to go! Luckily, most eloping couples drastically reduce the number of flowers they need by choosing to elope instead. When you elope, you usually only need one flower piece per person, like bouquets or boutonnieres. Sometimes, you may want to add in a floral crown or arch decor, but they aren’t necessary!
Table of Contents:
- Brainstorming your elopement bouquet
- Helpful tips before beginning
- Where to purchase your flowers
- How to make your own wedding bouquet
- How to care for your bouquet
- What to do with your flowers after your elopement
- Other helpful planning resources
I was a DIY connoisseur for my own small wedding. Everything I could do myself, I did. I even made and bound the paper for our guest book and vow books! I adored every minute I spent figuring out how to save money and express my creativity. By the end of it, our ceremony and reception truly reflected who we are as a couple. Adding in your own personal touch can really make your day feel special.
I have a few tricks up my sleeve on how to save a little bit of money for your florals. By the end of your wedding, I’ll have you feeling like a DIY queen, master of the greenery, defeater of the boutonnieres.
The planning stage, like everything else for your elopement wedding, is so important. When planning your DIY elopement bouquet you’ll want to keep a few things in mind. It’s important to give yourself enough time and space to figure out what you truly like. Sometimes it’s easy to get distracted by the shiny things and we fall off the path we originally wanted to be on. That’s not always a bad thing! But it’s smart to ensure your wedding florals will match the rest of your wedding day aesthetic. Pinterest is the perfect place to browse thousands of different bouquets and see what you like the most.
- What vibe are you going for? Is there a color palette you want to stick to? You’re going to want at least one or two types of greenery to start with as a base and then add your flowers in from there.
- How do you want to secure the stems? The ribbon or tie you use can really change the look of your bouquet!
- What kind of shape do you want? Do you want a flowy, whimsical bouquet or a tight, round bouquet? Most bouquets I create have the whimsical look to them because my elopement couples are laid-back and in-the-moment type of people!
- Are there any rules for florals at your wedding location? Many state parks and outdoor areas have strict guidelines for florals. Be sure to review these before you get your heart set on a certain flower as it may damage their ecosystem!
When buying flowers, you always want to try to purchase locally whenever possible. If you live in Portland, the Saturday market is an amazing place to buy flowers from local vendors! Sometimes waiting for the weekend isn’t always feasible when planning for your elopement, however. In that case, I would check out these places in order to find some amazing stems to make your own bouquet.
- Trader Joe’s: this is a great place to find different kinds of flowers! You can typically get all the stems you’ll need for around $30, which is a great deal! The downside to this option is that you can’t predict which types of flowers they will have for sale so you might not be able to find what you’re looking for.
- Order wholsale flowers: This option is perfect if you know exactly what kinds of flowers you want to order. Ordering wholesale will give you many more flowers than you’ll actually need to make your bouquet so you can use the extra stems for boutonnieres or little vases around your home! The downside to this option is that you likely won’t be able to go in person and shop around.
- Flower Moxie: Flower Moxie is a service that caters directly to couples making their own bouquets. Through their service you can order the flowers you want, speak to a specialist who will help you design, and have the wholesale flowers shipped to your door. The downside to this option is again that you won’t be able to shop for the flowers in person.
Before settling on an option, try to do a little research to see what is offered near you for purchasing flowers! I know here in Portland, Oregon there are several smaller flower shops and local growers to source flowers from for your DIY elopement bouquet.
Best Flowers For An Elopement
While keeping the seasons in mind and only purchasing flowers that are naturally in bloom will help you get the best look for flowers, it’s also important to keep in mind the sturdiness of your bouquet if you are eloping. Elopements generally require more adventures and rugged terrain than a traditional wedding. You’ll want to be sure to choose flowers that can withstand the work and not wilt immediately!
Some of my favorite sturdy flowers for elopements are:
- berries
- eucalyptus
- billy balls
- lavender
- solidago
- sunflowers
- chrysanthemums
- anthurium
What About Silk Flowers or Wooden Bouquets?
If your elopement location has strict rules against fresh flowers then silk flowers are a great alternative. Obviously, there’s a lot less upkeep when it comes to caring for silk flowers. You won’t need any water or have to worry about them wilting! Some silk bouquets can be really beautiful as long you purchase quality stems.
Wooden bouquets are becoming more popular in the wedding industry. If you really want one, then I say go for it! It’s a completely different look than a fresh flower bouquet but can be just as amazing. I really love it when you add in a few wooden flowers to a fresh flower bouquet!
DIY Wedding Bouquet Step 1
After you purchase your flowers, you’ll want to put them in small buckets or trashcans with a little water. Keep them in their wrapping for about an hour before you remove the packaging and let them expand in the bucket.

DIY Wedding Bouquet Step 2
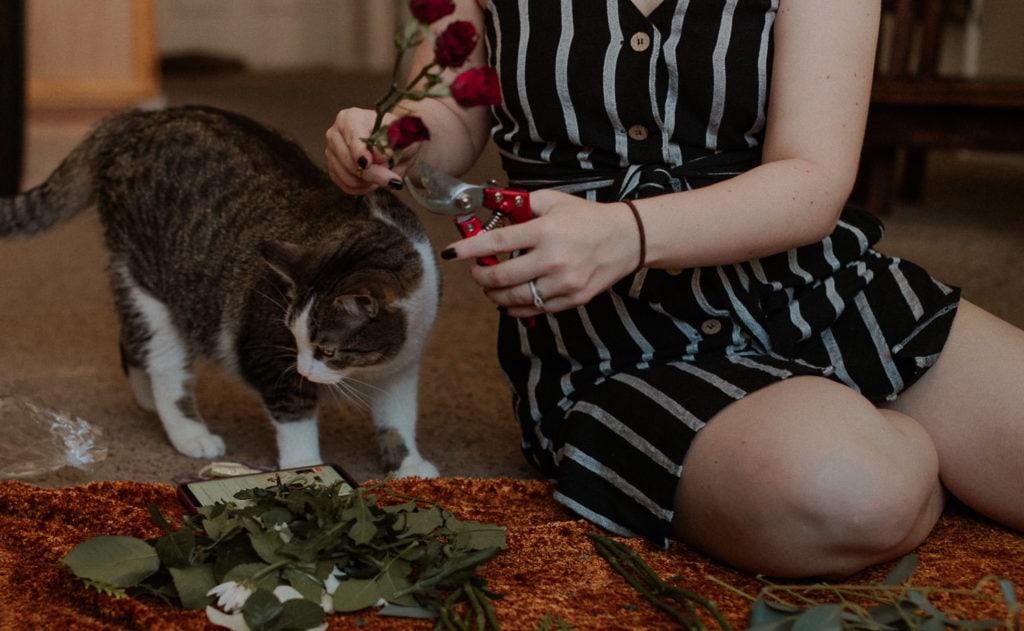
Prep & trim your stems. Each flower is going to be a little different and you’ll want to research ahead of time on how to best care for the flowers you’re using. Some stems shouldn’t be trimmed while others might need to have wire in them to prevent bending.
DIY Wedding Bouquet Step 3
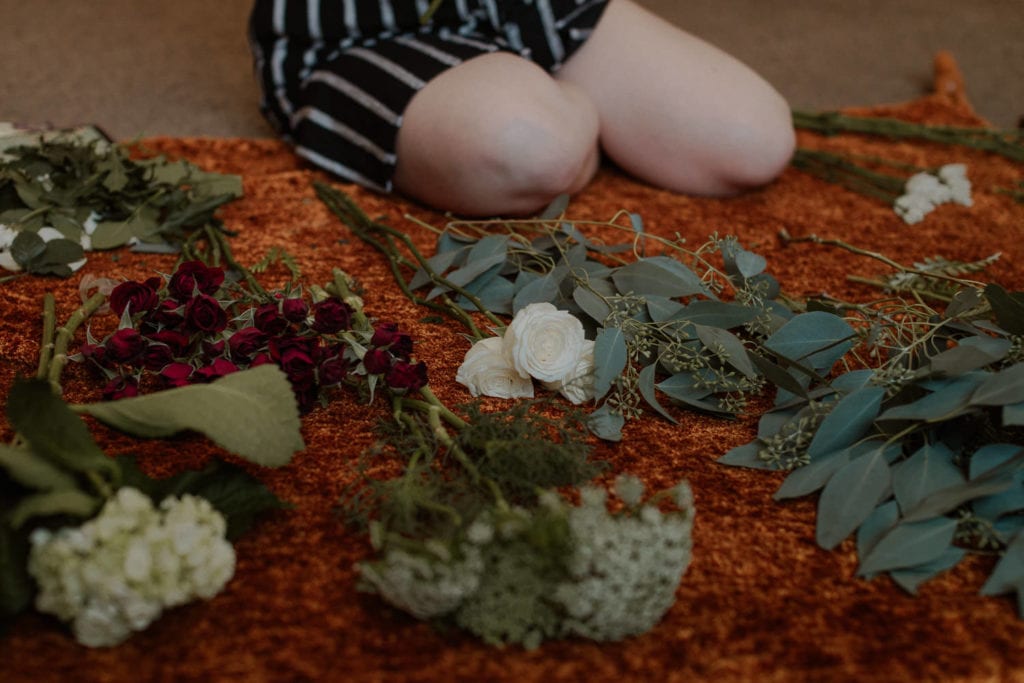
Lay everything out so you can see what you’re working with. At this point, it’s a good idea to go ahead and remove any blooms that are already damaged and can’t be used. Then, you’ll want to “open” blooms that are still closed. Sometimes this requires setting them out in the sun. For roses, you can put the stem between your palms and rub it back and forth so the flower petals open. A fun thing to do with tulips for a new look is to bend the petals back to the whole flower is open.
In this step, you’ll also want to remove any excess leaves that are near the bottom of your stems where you’ll be holding the bouquet. Be careful while doing this to only remove the leaves and not the stem!
DIY Wedding Bouquet Step 4
Start with the greenery. I know this may seem a little strange, but the greenery is truly the base of your DIY bouquet. Start by holding the stems at an angle slanted away from you, then slowly turn the stems in your hand. Add in new stems where there seems to be a gap. Turning the stems in your hand allows you to see the whole bouquet and make sure you’re not just styling from one side.
Once you’ve finished with the greenery, secure the stems with your floral tape. From here you can do any little adjustments like ensuring the stems are at varying heights to have a more dynamic bouquet.
DIY Wedding Bouquet Step 5
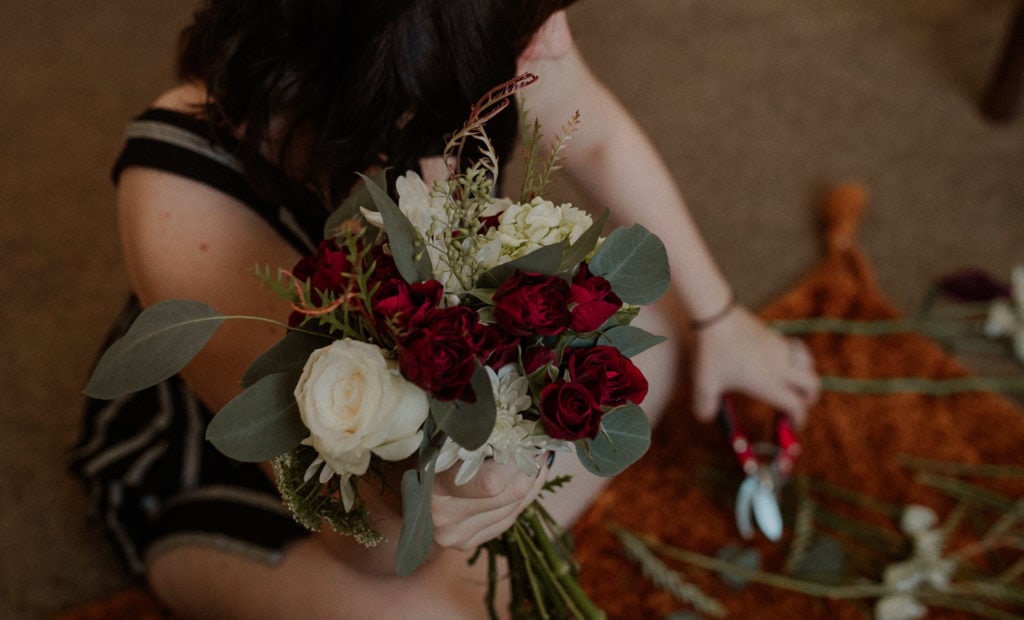
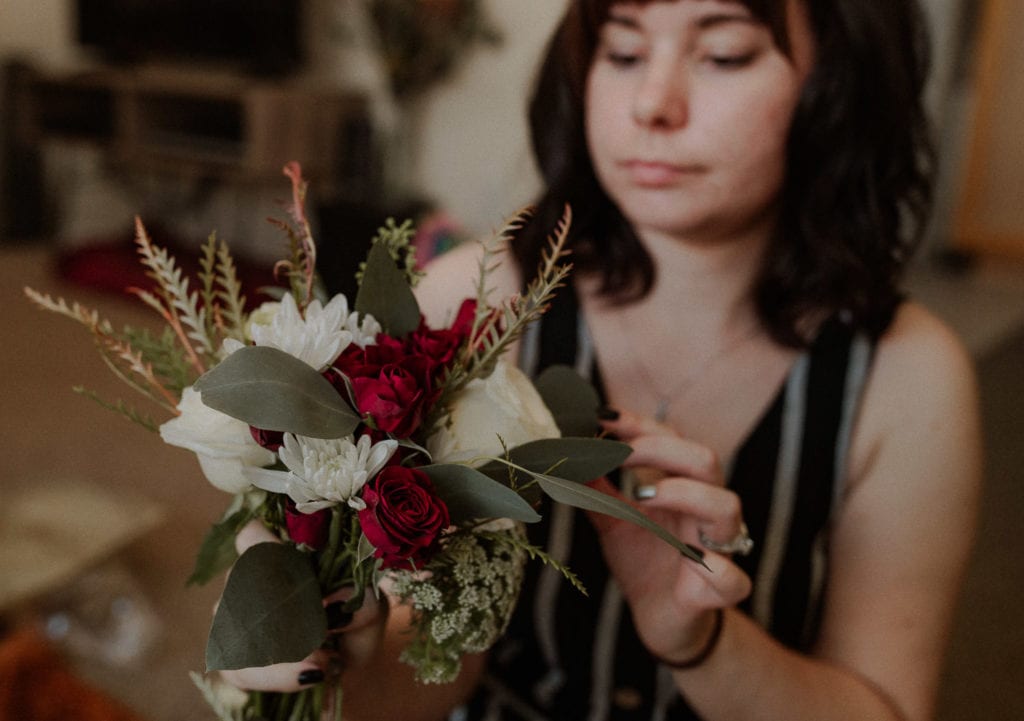
Now you can start adding in your blooms! I recommend starting with the largest flowers first as they will take up the most space. You’ll want to add one stem at a time and push the stem in through the top of the bouquet until it is at a height you like. Be sure to keep holding your bouquet at an angle so you don’t just end up with a straight up and down bouquet!
Once you’ve got enough large blooms in your bouquet, it’s time to add in the filler flowers. These are meant to fill up any extra space and provide more dynamics to your bouquet. Again, you’ll add these by the stem from the top of the bouquet at different points in your arrangement.
DIY Wedding Bouquet Step 6
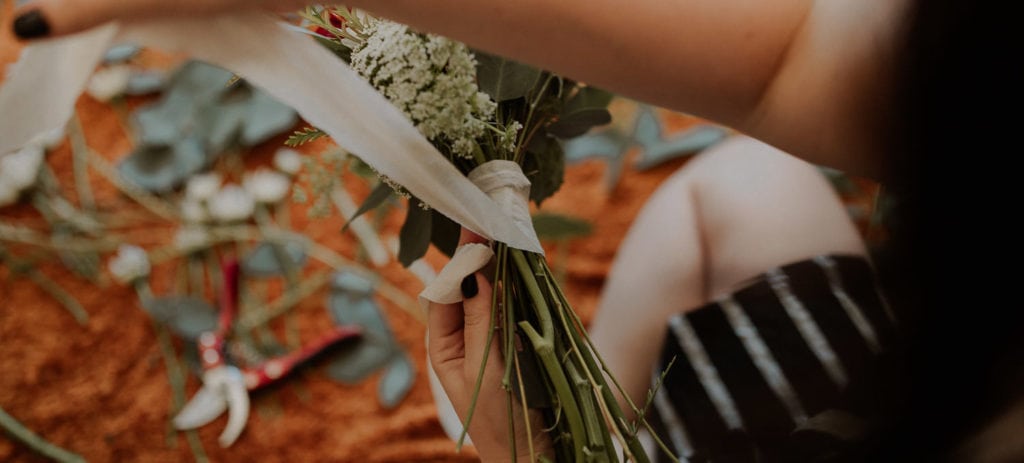
Now you’ll want to secure your entire bouquet again with the greenery tape. Greenery tape is a little stretchy so you’ll want to make sure you’re wrapping the stems securely so they don’t fall out on your wedding day. Don’t worry about the tape looking pretty because you’re going to cover that up in the next step!
After securing all the stems together, trim up the ends of your stems again so they are the same length. Since we’re going for more of a boho, laid-back look, our stems are at different heights. You don’t need to make them look perfect but trimming them up a little will help them sit better when you put them in water later. Snip your stems at an angle so they can absorb as much water as possible now that they’ve been harvested.
Don’t trim the stems too short! Make sure you leave enough room to hold the bouquet comfortably.
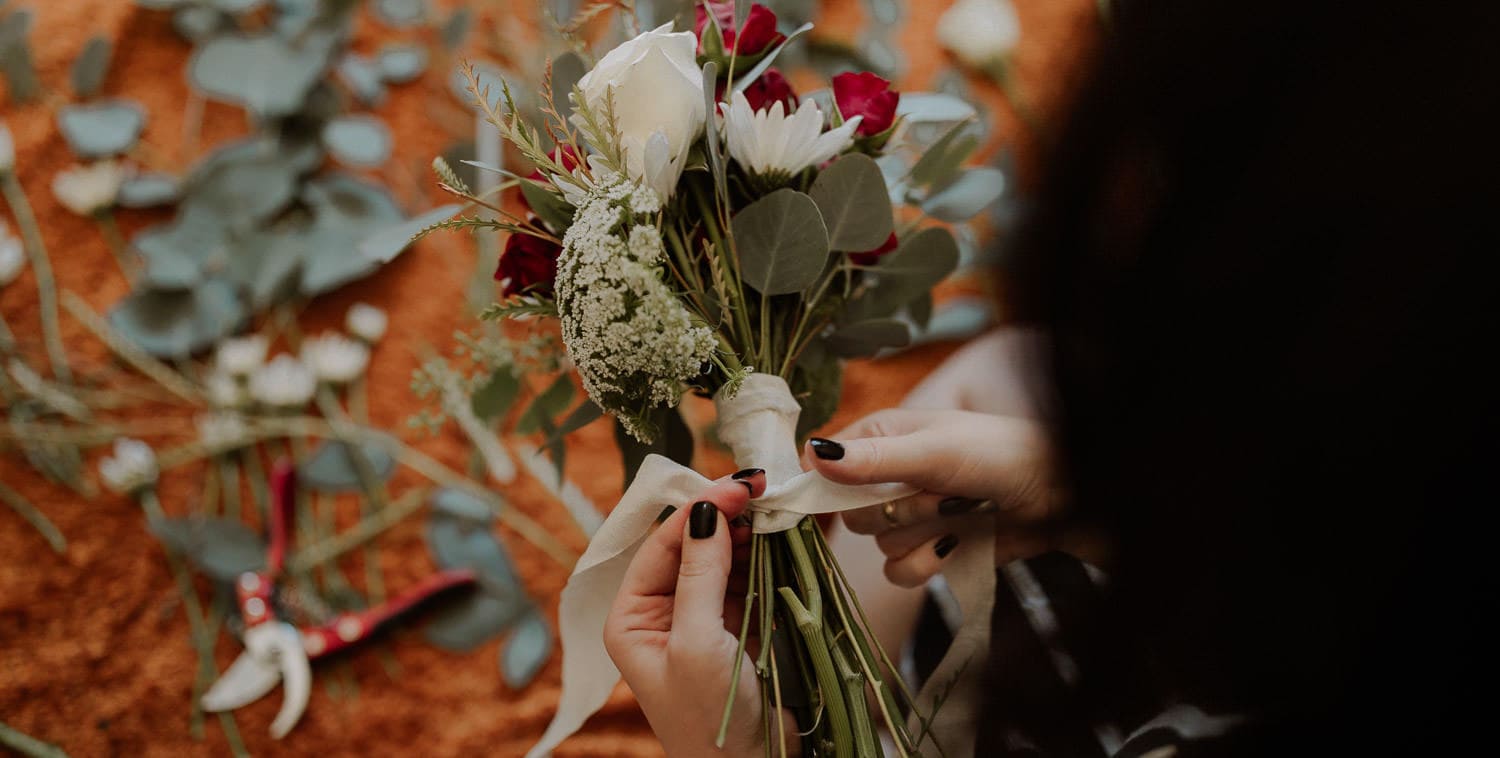
DIY Wedding Bouquet Step 7
With your regular scissors, cut the length of ribbon you’d like to use. The length varies depending on how long you want the ends of the ribbon to hang down from your bouquet or if you just want it wrapped around. Cut off enough ribbon to wrap it around your stems several times and make sure you can tie or secure it well. Your ribbon shouldn’t feel loose or like it is falling off!
If you don’t want any ribbon tails hanging down then you’ll also want some boutonniere pins to secure the ribbon end to the stems. Put the pins in at an angle so they don’t poke out the other side.
Once you’ve made your beautiful bouquet, it’s important to make sure you care for it well so it can last as long as possible. Whenever you’re not using your bouquet, keep it in water with plenty of breathing room. Don’t stuff it in a tiny vase as that can crush the stems and blooms. If you don’t want your ribbon to get wet you can either leave it off until you’re getting married or only have enough water to cover the bottom of the stems.
Contrary to popular belief, you don’t need flower food! If you sourced good, quality flowers from a reputable vendor, your blooms should stay fresh and beautiful for several days. It’s best to store your bouquet in a cool place. If you’re having your elopement in the hot summer months and don’t have a proper place to store the flowers, then you might want to use a little flower food. Be sure to follow the instructions!
If you’ve made a bouquet, flower crown, or other arrangements that can’t be easily hydrated then you’ll want to store that in your refrigerator. Don’t put them directly next to the cooling agent as that can damage your blooms!
How To Hike With Your Elopement Bouquet
Having an adventurous elopement day? Fear not! You can totally take your bouquet with you. To hike with your DIY elopement bouquet, wet a hand towel and wrap that around the bottom of your stems. Put that in a waterproof baggie and secure with a rubber band or tie. To transport while hiking, put that in the top of your hiking backpack so it doesn’t get smushed by anything else in your pack. Secure your backpack enough so it doesn’t fall out but also doesn’t crush the blooms and you’re good to go!
What To Do With Your DIY Bouquet After Your Elopement
Once you’ve eloped and are enjoying newlywed bliss, what are you going to do with your bouquet? I hope you didn’t go through all of that work just to throw it away! There are so many ways you can preserve your petals to remember forever. My personal favorite is to press your flowers and frame them in glass. Read more about how to press your own flowers on the blog.